Integration Guide
Add the ElegantOTA update portal to an existing web server sketch in three steps.
This guide adds ElegantOTA to a sketch that already runs a web server. It uses the synchronous web server of your platform's Arduino core; for ESPAsyncWebServer, see Async Mode.
Include the library
Include ElegantOTA at the top of your sketch:
#include <ElegantOTA.h>With ElegantOTA Pro, include <ElegantOTAPro.h> instead.
Call begin() in setup()
Pass a pointer to your web server to ElegantOTA.begin(). This registers the portal and the update endpoints on the server.
ElegantOTA.begin(&server);begin() optionally accepts a username and a password to protect the portal with HTTP Basic Authentication. See Authentication.
Prop
Type
Call loop() in loop()
Call ElegantOTA.loop() from the loop() function of your sketch. ElegantOTA uses it to reboot the device after a successful update. In ElegantOTA Pro, it also drives direct downloads and update channel checks.
ElegantOTA.loop();Open the portal
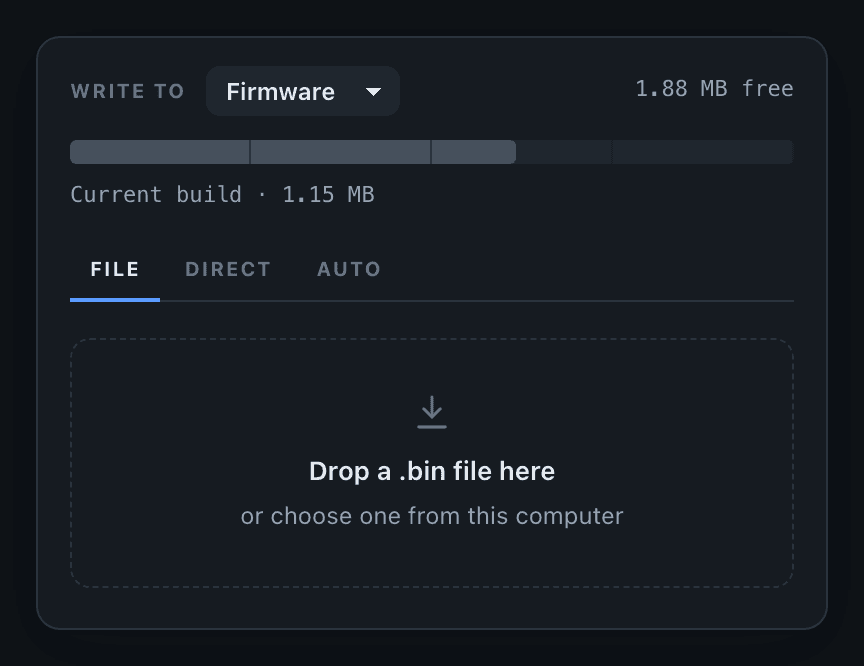
Upload the sketch and open http://<device-ip>/update in a browser.
Complete example
The following sketch connects to a Wi-Fi network, serves a page at / and adds the OTA portal:
#if defined(ESP8266)
  #include <ESP8266WiFi.h>
  #include <WiFiClient.h>
  #include <ESP8266WebServer.h>
#elif defined(ESP32)
  #include <WiFi.h>
  #include <WiFiClient.h>
  #include <WebServer.h>
#elif defined(TARGET_RP2040) || defined(TARGET_RP2350) || defined(PICO_RP2040) || defined(PICO_RP2350)
  #include <WiFi.h>
  #include <WiFiClient.h>
  #include <WiFiServer.h>
  #include <WebServer.h>
#endif

#include <ElegantOTA.h>

const char* ssid = "your-ssid";
const char* password = "your-password";

#if defined(ESP8266)
  ESP8266WebServer server(80);
#else
  WebServer server(80);
#endif

void setup() {
  Serial.begin(115200);
  WiFi.mode(WIFI_STA);
  WiFi.begin(ssid, password);

  // Wait for the connection
  while (WiFi.status() != WL_CONNECTED) {
    delay(500);
    Serial.print(".");
  }
  Serial.println();
  Serial.print("IP address: ");
  Serial.println(WiFi.localIP());

  server.on("/", []() {
    server.send(200, "text/plain", "Hi! This is ElegantOTA Demo.");
  });

  ElegantOTA.begin(&server);    // Start ElegantOTA
  server.begin();
  Serial.println("HTTP server started");
}

void loop() {
  server.handleClient();
  ElegantOTA.loop();
}
Next steps
- Callbacks: run your own code when an update starts, progresses and ends.
- Authentication: protect the portal with a username and password.
- File: how the portal writes firmware and filesystem images.